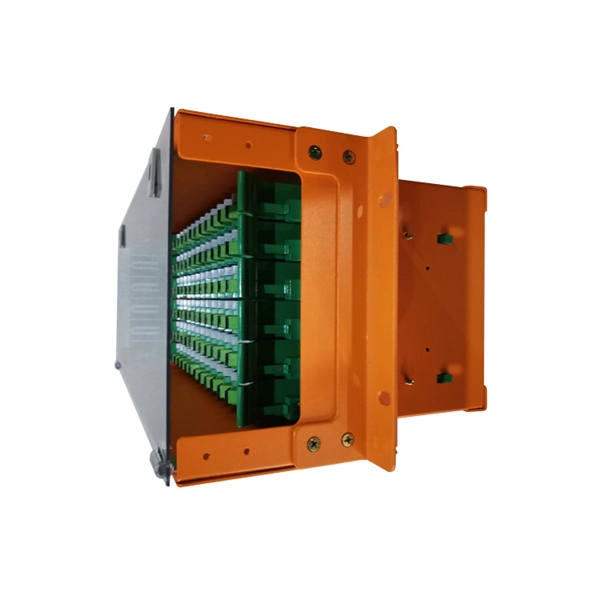
Installing a distribution box circuit involves selecting the right box, securing it properly, connecting input and output wires, installing circuit breakers, and performing safety tests.Step 1: Choose the Right Distribution Box
Select a distribution box suitable for your environment (residential, commercial, or industrial) and load requirements. Ensure it has the proper IP/NEMA rating for protection against dust and moisture, especially if installed outdoors. The box should have enough capacity for current wiring and future expansion, and be made of durable material like steel or high-quality plastic .
Step 2: Select the Installation Location
Install the box in a dry, accessible area with good ventilation. Avoid proximity to water, flammable, or corrosive substances. For residential setups, the recommended height is around 1.5 meters above the ground. Ensure the location allows easy access for maintenance and troubleshooting .
Step 3: Prepare Tools and Materials
Gather necessary tools: wire cutters, strippers, screwdrivers, multimeter, insulation resistance tester, and appropriate gauge wires. Ensure you have circuit breakers, busbars, terminal blocks, and cable ties ready .
Step 4: Mount the Distribution Box
Secure the box to the wall or installation surface using expansion bolts or screws. Check that it is stable, level, and firmly fixed .
Step 5: Wire Preparation
Cut the insulation of wires to expose the conductor, leaving enough length for connection. Follow color coding standards: live (line), neutral, and ground wires .
Step 6: Install Circuit Breakers
Place the circuit breakers in their designated slots according to your electricity usage. Each circuit should have its own breaker for protection. Ensure breakers are compatible with the box and load requirements .
Step 7: Connect Wires
- Connect the incoming main power to the main terminal of the distribution box.
- Connect each circuit wire to its corresponding breaker.
- Terminate wires properly: line to line, neutral to neutral, and ground to ground. Tighten screws securely to avoid loose connections .
Step 8: Organize Wiring
Dress and route all wires neatly inside the enclosure. Use cable ties to secure wires and leave space for heat dissipation. Avoid tangling or contact with sharp edges .
Step 9: Label Circuits
Mark each circuit clearly for easy identification during maintenance or troubleshooting. This improves safety and efficiency in future inspections .
Step 10: Testing and Safety Checks
Before powering on, perform the following tests:
- Insulation Resistance Test: Verify resistance between wiring and the box meets required standards.
- Multimeter Check: Ensure no short circuits and all connections are secure .
Step 11: Compliance and Maintenance
Follow local electrical codes (NEC, IEC, or regional standards). Use UL/CE-certified components and schedule regular inspections to maintain long-term reliability . By following these steps, you can safely install a distribution box circuit, ensuring proper electrical flow, protection, and ease of maintenance.