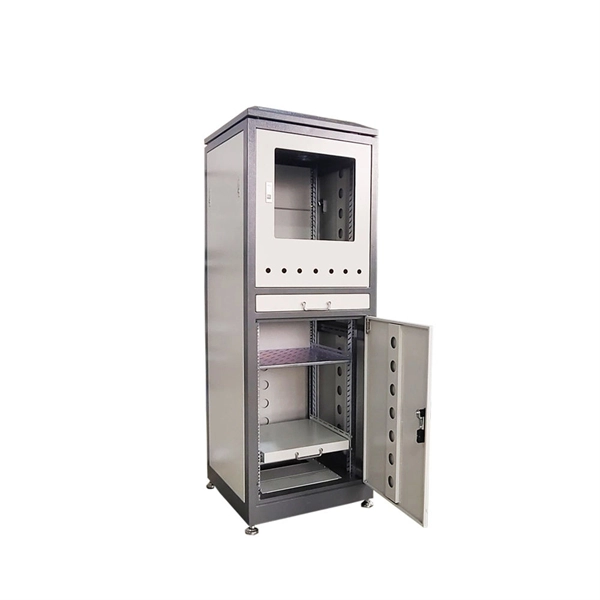
Installing a distribution box rail involves securely mounting the DIN rail inside the enclosure, ensuring proper alignment, grounding, and spacing for circuit breakers.Step 1: Prepare the Installation Site
Choose a dry, accessible location for the distribution box, ideally about 1.5 meters above the floor for residential setups, away from water, flammable materials, or corrosive substances . Ensure there is enough clearance around the box for ventilation and future maintenance . Verify that the wall or mounting surface is sturdy enough to support the box and its components.
Step 2: Gather Tools and Materials
You will need:
- Screwdriver and drill
- Level
- DIN rail (metal or plastic, depending on the box)
- Screws and wall plugs or expansion bolts
- Wire stripper, multimeter, and insulation tester
- Personal protective equipment (insulating gloves, safety glasses, slip-resistant shoes),
Step 3: Mount the Distribution Box
Secure the distribution box to the wall using appropriate mounting hardware. Ensure the box is level and stable, with no tilting or looseness . For outdoor installations, use a waterproof enclosure and consider a rain cover.
Step 4: Install the DIN Rail
- Position the rail inside the box at the designated mounting points. Most residential boxes have pre-marked slots or holes for DIN rails.
- Align the rail horizontally using a level to ensure breakers will sit straight.
- Secure the rail with screws or clips provided by the manufacturer. Make sure it is firmly attached and cannot move under the weight of installed breakers .
- Leave adequate spacing between the rail and the box walls for wiring and heat dissipation.
Step 5: Grounding and Safety
Attach the grounding bar to the box if not pre-installed. Ensure the DIN rail is properly grounded if required by local electrical codes . This prevents electrical hazards and ensures safe operation.
Step 6: Install Circuit Breakers
Snap the circuit breakers onto the DIN rail, following the manufacturer's instructions. Maintain correct spacing for heat dissipation and future expansion . Connect the phase, neutral, and earth wires to their respective terminals, ensuring tight and secure connections.
Step 7: Final Checks
- Arrange wires neatly and secure with zip ties to prevent tangling or contact with sharp edges .
- Use a multimeter or insulation tester to verify proper insulation and continuity before powering on.
- Label each circuit for easy identification and future maintenance . By following these steps, you ensure that the DIN rail and distribution box are installed safely, securely, and in compliance with electrical standards, providing a reliable foundation for your household electrical system.