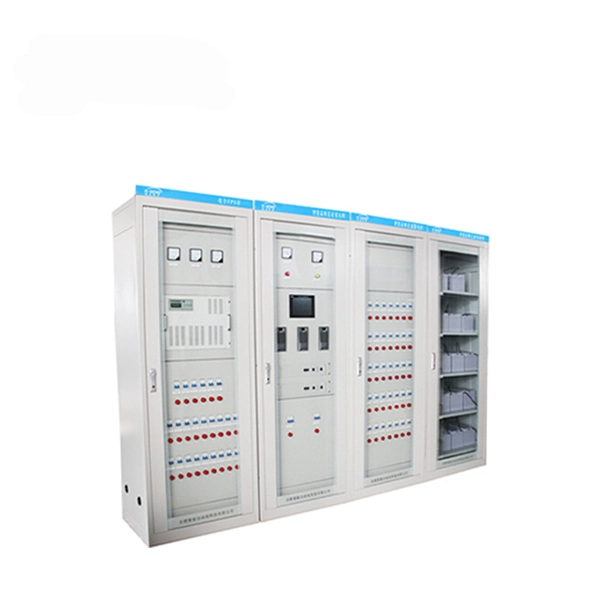
Proper wiring of a distribution box involves connecting the main supply, circuit breakers, outgoing circuits, and grounding while following safety standards and labeling conventions.Step 1: Preparation and Safety
Before starting, turn off the main power supply to prevent electrical shock. Ensure the distribution box is securely mounted at an accessible height (typically around 1.5 meters) in a dry, ventilated area free of obstructions . Verify that the box has the appropriate IP or NEMA rating for the environment, and select a box made of durable material such as steel for industrial use or plastic for indoor residential setups .
Step 2: Component Placement
Inside the box, arrange the main MCB (double-pole for single-phase or three-pole for three-phase systems), RCCBs, single-pole MCBs, busbars, and terminal blocks. Use DIN rails for mounting devices and ensure neat cable entry points for organized wiring . Each circuit should have its own protective device, and the layout should allow easy access for maintenance.
Step 3: Connecting the Main Supply
Identify the incoming live (phase) and neutral wires. Connect the live wire to the main MCB input terminal and the neutral wire to the neutral busbar. If using an RCCB, connect the output of the main MCB to the RCCB input, ensuring proper phase and neutral alignment . Always follow color codes (e.g., brown/red for live, blue for neutral, green/yellow for earth) and label each wire for clarity .
Step 4: Wiring Outgoing Circuits
Connect each outgoing circuit to its corresponding MCB or DP MCB. For single-pole MCBs, connect only the phase wire; for double-pole MCBs, connect both phase and neutral wires. Connect the neutral wires from the output to the neutral busbar and the earth wires to the earth busbar . Ensure that the wire gauge matches the load requirements and that all connections are tight to prevent overheating or loose contacts .
Step 5: Grounding
Proper grounding is essential. Connect the earth wire from the supply or earth pit to the earth busbar. Metallic parts of the box should also be grounded to prevent electric shock . Maintain segregation between live, neutral, and earth conductors to reduce faults.
Step 6: Testing and Verification
After wiring, use a multimeter to check for continuity, correct voltage, and absence of short circuits. Verify that all breakers are correctly rated for their circuits and that insulation is intact . Document the wiring diagram, including terminal numbers, wire colors, and protective device ratings, for future maintenance and troubleshooting .
Step 7: Maintenance and Labeling
Label all breakers, terminals, and circuits clearly. Schedule regular inspections to ensure long-term reliability. Consider modular designs for easier future upgrades . Keep a version-controlled wiring diagram with revision notes to maintain accurate documentation over the lifecycle of the distribution box . By following these steps, you can ensure a safe, organized, and code-compliant distribution box installation suitable for residential, commercial, or industrial applications.